This is part one of a two part tutorial in which I will show you how to restore a website on CPanel using an Akeeba backup archive.
Akeeba is a backup solution for Joomla websites; there is also a version for Wordpress. There is a free, core version and paid version. The paid version offers more control options including automated scheduling of backups and connection to other services such as Dropbox for storing of backup archives.
This tutorial assumes you have already created a backup using Akeeba and have downloaded this from the backup location.
If you have not completed a backup with Akeeba you can view my tutorial Backup a Joomla Website Using Akeeba. You may also find my tutorial, Download Akeeba Backups Using Filezilla, useful.
The process to restore an Akeeba backup involves three key stages:
- Preparing the database needed to complete the restore.
- Uploading the Akeeba backup and other files needed to complete the restore.
- Running the Akeeba restore function, also known as Angie.
Let’s get started…
1. Prepare The Database
Every Joomla website uses a database to hold all of the copy (text) viewed in articles, menu structures, paths to images used in articles and more. If you are replacing an existing website you should already have a database which can be used and you can skip to part 2. If not, the following will help you create one.
1.1 Login to CPanel
When you purchased your hosting account, you would have received a user name and password to access the control panel or CPanel. The web address to CPanel is usually your full website address followed by /cpanel . When you visit the CPanel website address you should see a login similar to the following screen grab.
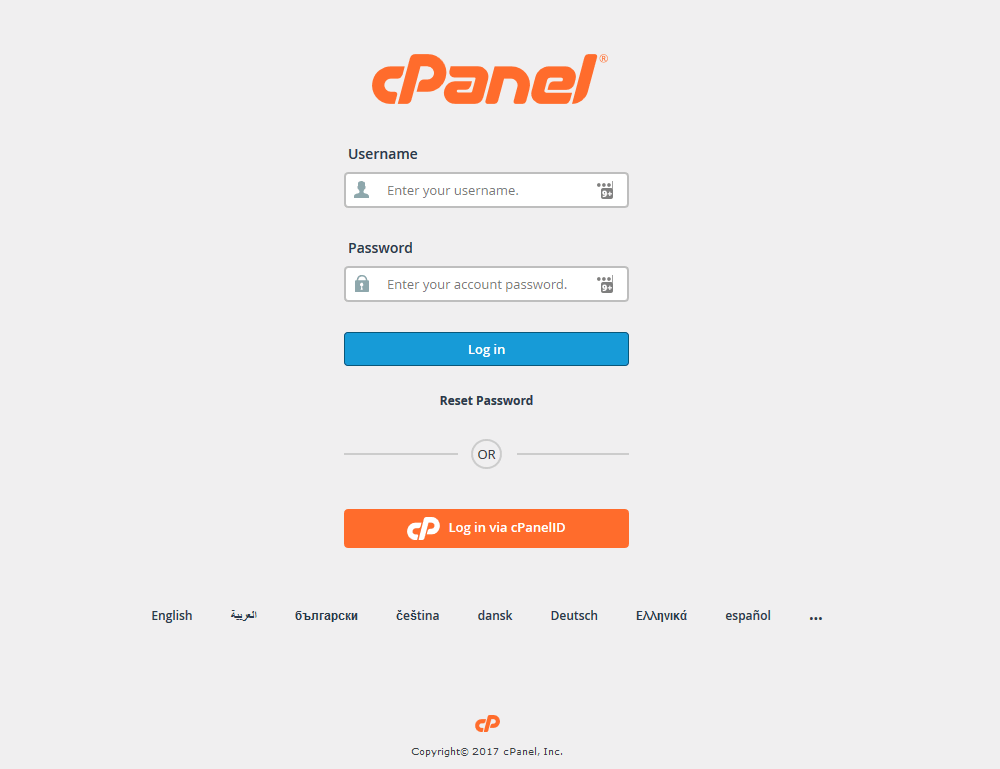
Enter the user name and password then select the 'Log In' button to access your CPanel.
1.2 Create a Database
Locate the Databases section of your CPanel window and select the 'MySQL Databases' option.
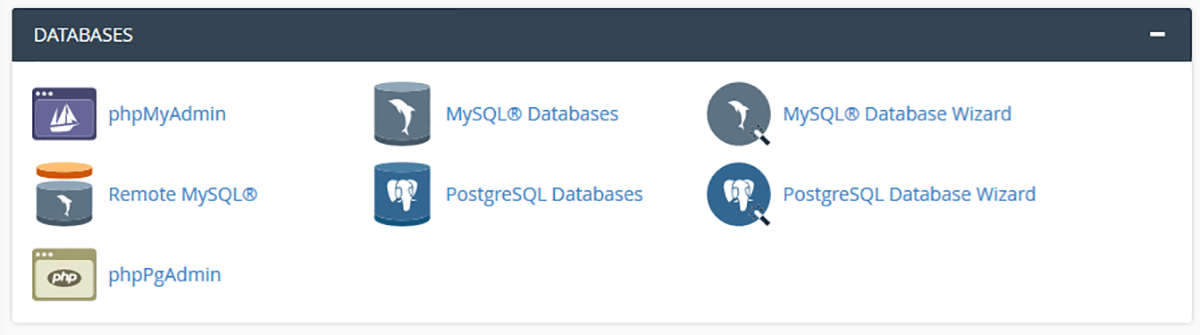
This will display the MySQL Databases screen.
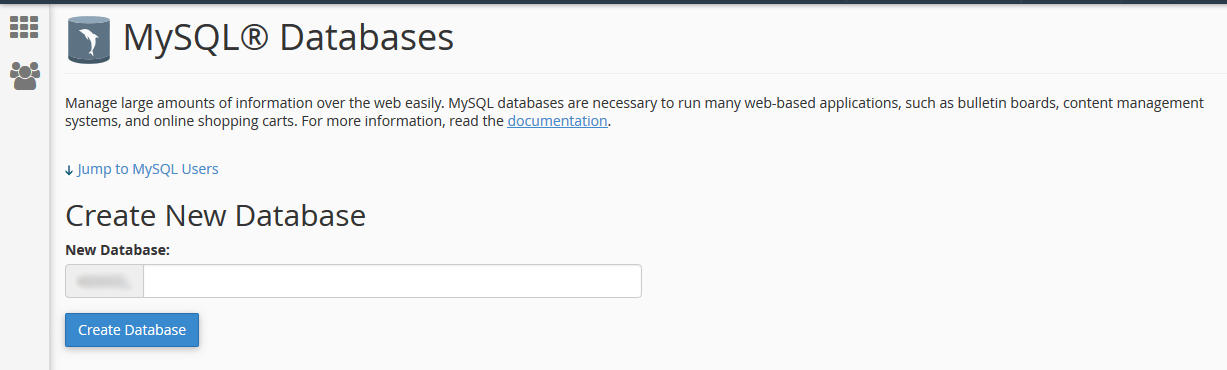
1.2.1 Create Database
Top of the MYSQL Databases window is the Create New Database dialog. Enter a name for the database, no spaces then select 'Create Database'.
You should see a successful notice confirming the database name. Copy this to your temporary location as it will be needed during the restore.
Select 'Go Back' to return to the MySQL Databases window. Your new database should be listed under Current Databases.
1.2.2 Create The User Account
We now need to create a user account to access the database
Scroll down until you see the MySQL Users section.
Enter a user name.
You can enter a password manually, or, use the password generator to create one. I would recommend using the password generator to create a more complex/ secure password.
To do this select the 'Password Generator' button to display the panel. Select ‘advanced options’ to display more options for creating a password.
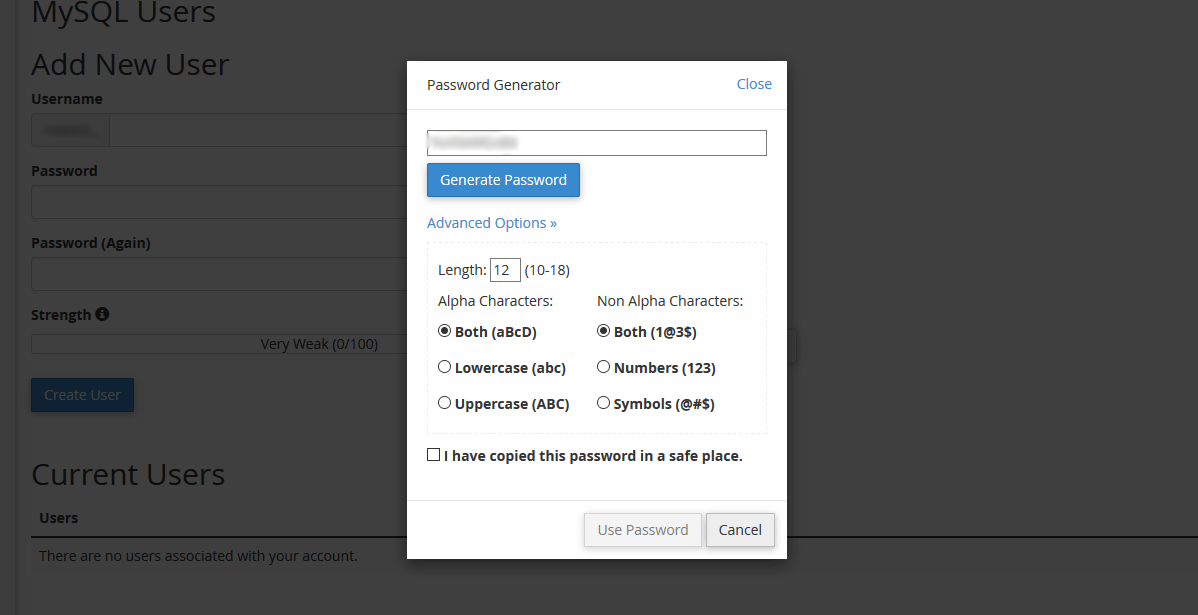
Create a password of no less than 15 characters using ‘Both’ for Alpha and Non Alpha characters. Click the ‘Generate Password’ button until you have a password you want to use.
Copy the password and paste into a temporary location as you will need this to complete the restore. Select the ‘I have copied this password to a safe place’ checkbox then select 'Use Password'.
You will be returned to the main screen where the password (now masked) will fill both password fields.
Select 'Create User'. If successful you will see a confirmation the user has been created. Select 'Go Back' to return to the MySQL Databases window.
Scroll down and you should see the new account listed under Current Users. Copy the full user name to your temporary location as it will be needed during the restore.
1.2.3 Associate User With Database
The last thing we need to do is associate the user we created with the new database.
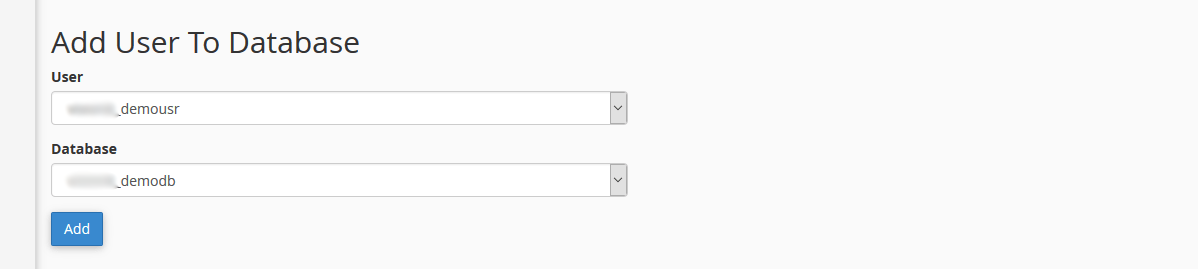
Scroll down to the Add User To Database section. Select the user and database from the dropdowns as shown below then select 'Add'.
You will be shown the Manage User Privileges panel. Select the checkbox next to 'All Privileges' then select 'Make Changes'.
If successful you will be shown a confirmation that your user has been given the requested privileges for the database. Select 'Go Back' to return to the MySQL Databases window.
You have successfully created an empty database, a new database user and given the user full access to the database.
In the second part of this tutorial, Joomla Website Akeeba Restore - Part Two, I will show you how to upload the required files to your hosting account and complete the restoration.