This tutorial will show how to create a backup of your Joomla website using the free to use Akeeba Backup core system extension.
Akeeba Backup is a component. Components are additional applications which can be installed in Joomla to add extra functions to the Joomla system.
The backup created by Akeeba is a reliable way to store a complete copy of a Joomla website as it holds all of the folder and file structures along with a complete backup of the database used by Joomla.
How to Install Akeeba Backup
The Akeeba Backup component can be installed from the Joomla v3 administrator system by opening Extensions/ Manage/ Install, selecting the Web option and searching for 'Akeeba'. Click the Akeeba Backup extension name when it shows in the search results then the Install button.
How to Access Akeeba Backup
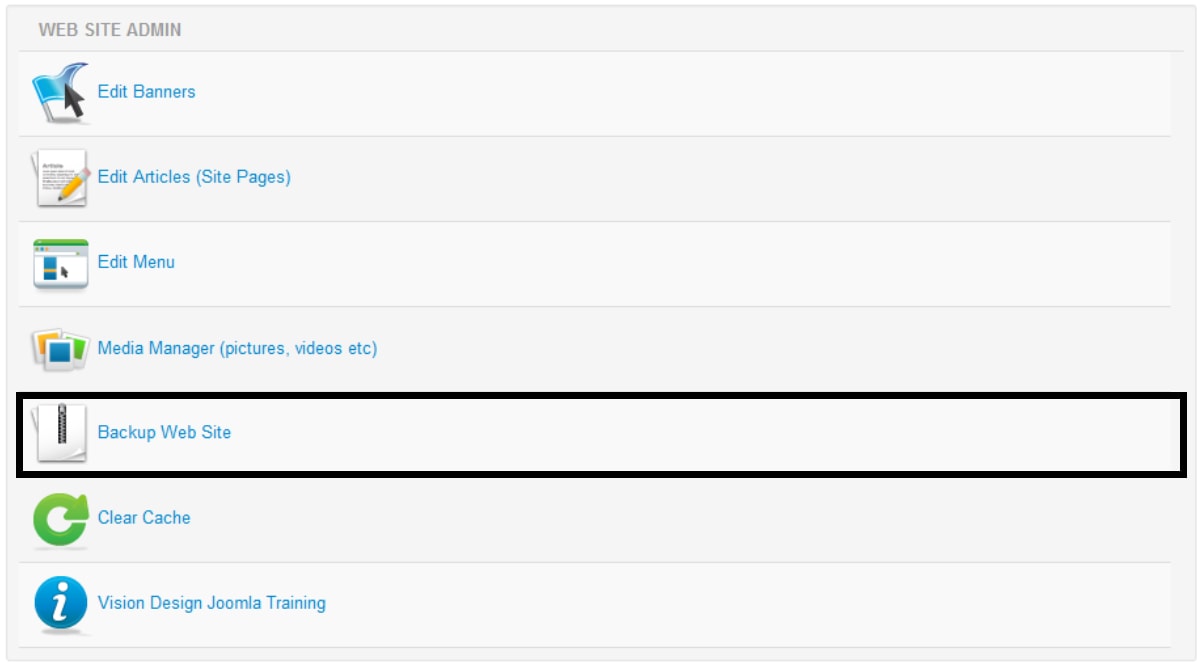
Access the Akeeba Backup view by left-clicking the Backup Website option in the central menu, or, by opening the Components menu top of the Joomla window and selecting Akeeba backup.
This will open the Akeeba Backup view as in the following example.
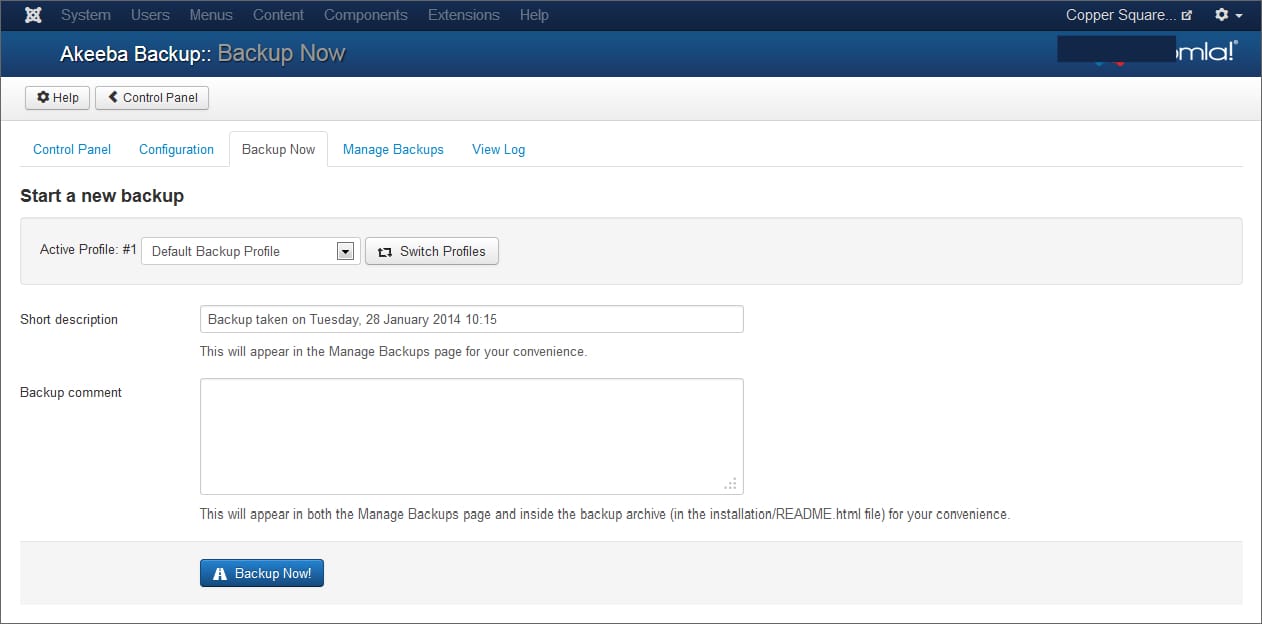
The default setting is a full backup. It is possible to create profiles which backup only specified portions of the Joomla website, however, this is not covered in this tutorial.
1. Creating A Backup
To create a new backup, enter a comment which can be used to identify the particular version in the Backup Comment field. For example, a new backup may be taken before updating a feature of the Joomla website. The comment may then be "Backup prior to upgrading <feature name>."
Next left-click the blue Backup Now button. Akeeba will begin to backup the Joomla website.
Akeeba will display a progress view while the backup is running.
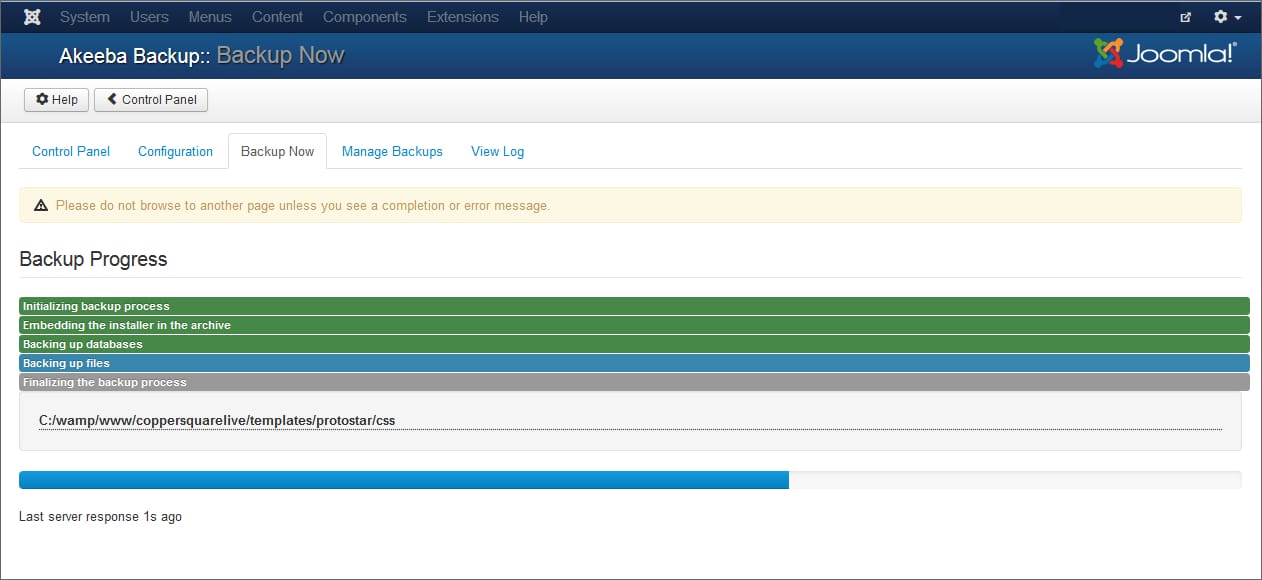
IMPORTANT: Do not close or navigate to another page while the backup is running or it will fail. A warning to this effect is shown on a yellow panel above the Backup Progress.
When the backup has completed successfully the following confirmation will be displayed.
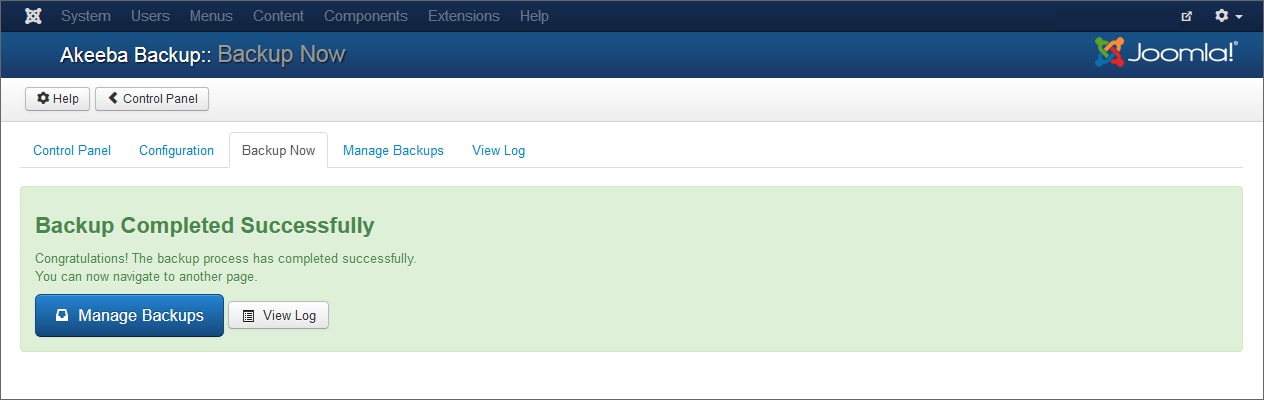
Left-click the Manage Backups button to open the Akeeba Backup Manager view.
2. Managing Backups
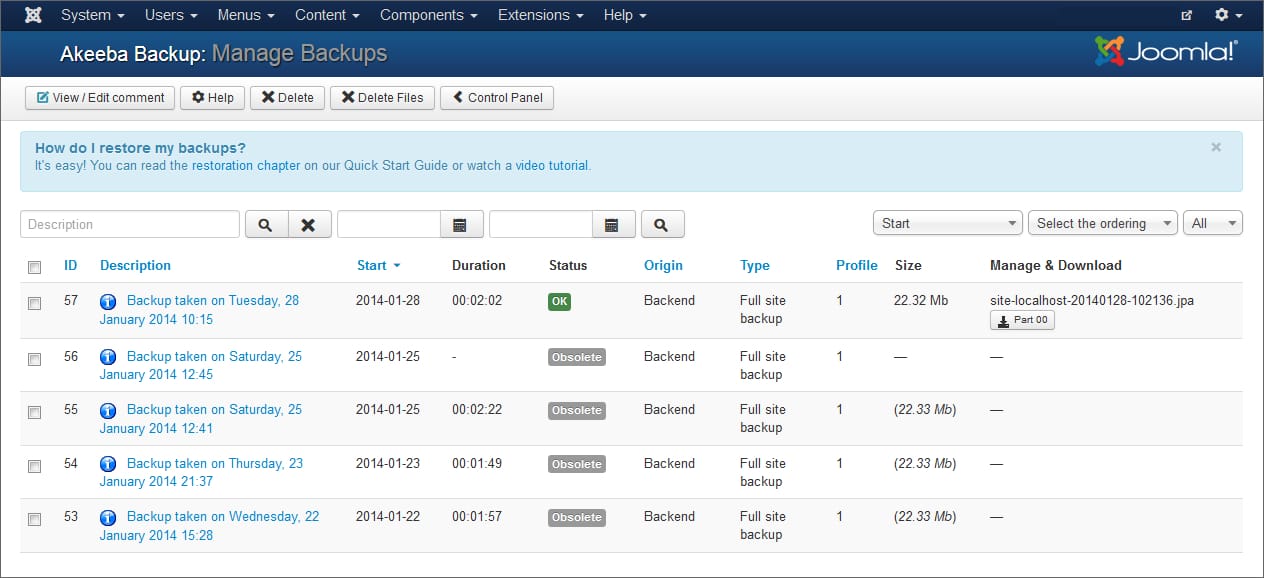
Within this view files can be deleted and Akeeba helps by marking files over a certain number of days old with an 'obsolete' flag. We would recommend keeping the current and one previous backup at all times.
To delete a file, left-click the checkbox left of the ID then select one of the following:
- Delete: This will delete the backup file and remove the entry from the Akeeba Backup Manager view.
- Delete Files: Will only remove the backup file but leave the entry in the Akeeba Backup Manager view.
Hovering the mouse cursor over the blue icon next to the backup description will show any comments entered when the backup was created.
3. Downloading Backups
There is a download button next beneath the filename in the Manage & Download area, right side of the view, but we would not recommend using this as the form of download used can corrupt the backup.
We would instead recommend using a dedicated file transfer program, FTP application, to download the files instead. A separate tutorial showing how to do this with Filezilla, a popular FTP application for Windows, Apple and Linux computers, is available at the following link.
Link: Downloading Akeeba Backup Files Using Filezilla
Exiting Akeeba Backup
From this screen it is possible to return to the administrator home screen using the white icon, top-left of the Joomla window.
![]()
This concludes the tutorial: Backup a Joomla Website Using Akeeba.
Our article 'Download Akeeba Backup Files Using Filezilla' shows how to use a popular application to connect to a website hosting account to download the files created by Akeeba.